HATHWAY is India’s’ one of the very few genuine MFRS’s and Exporters. We operate a bespoke stock management system which links our various units and divisions. The Company and its Group has various accreditation to its credit as MFR & EXPORTER of assessed capability.
As such we have accepted a commitment to provide materials of the highest quality and to consistently meet or exceed Customer’s expectations of service levels. Our Quality Management System plays an essential role. It both defines the Quality Expectations and provides the tools for quantitative analysis of our performance against these goals. Management reviews are held on a regular basis and ideas for improvement are seized upon.
EQUALLY IMPORTANT HOWEVER IS THE QUALITY OF OUR PEOPLE.
Our Managers are knowledgeable and well qualified individuals with a fund of experience in our industry. Our Quality Management Team have a wealth of background experience and we have well trained and long serving staff at all levels.
TENSILE TEST
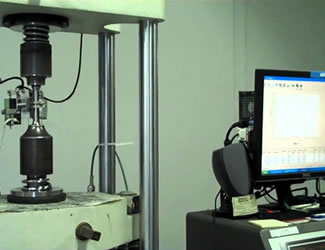
Technical details:
Standards: EN ISO 6892-1, ASMT A370 400KN and 100KN tensile test machines incl. strain measurement equipment
Hot tensile tests according to EN ISO 6892-2 up to 900°C
Method in detail:
The tensile test is a standardized method in destructive materials testing. The test can determine the tensile strength, yield strength, elongation after fracture, constriction after fracture, and other material properties.
During the tensile test, standardized test pieces with a defined cross-sectional area (circular cross section or rectangular cross section) are elongated until they break. The elongation and the travel are increased equally without any impacts and at a low speed. While the tensile test is being performed, the force on the test piece and the length change in the measured section are measured continuously.
IMPACT TEST
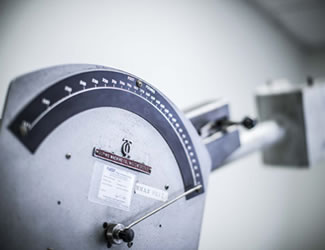
Technical details:
Standards: EN ISO 148-1, ASMT E23, ASTM A370, Capacity of nominal energy 450 J, peens 2 mm and 8 mm, test temperatures up to 196°C incl. lateral expansion and fracture determinations.
Method in detail:
The impact test serves to examine the fracture behavior of materials at different temperatures. In addition to impact values, the lateral fracture expansion and fracture appearance can be determined.
During the impact test, a swing hammer with a defined mass strikes the back of a notched standardized test piece, thereby smashing it. Depending on the material and test temperature, a certain amount of energy is absorbed by the test piece. This absorbed energy is specified in joules.
MICROSCOPY

Technical details:
- Incident light microscope with magnification of 1000x
- Phase determination according to ASTM A923
- Volume fraction determination according to ASTM E562
- Grain size determination
- Determination of the degree of purity
- General metallographic constituent determination
- Digital, calibrated image data capture and analysis
Method in detail:
Microscopy is viewing objects that are so small that they cannot be seen with the naked eye, e.g., grains in steel.
MACROSCOPY
Technical details:
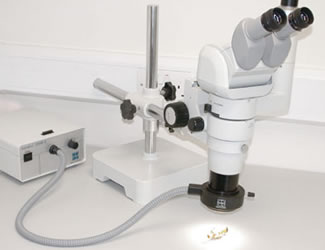
Stereo microscope with magnification up to 70x and macro exposure station with magnification of 5x Digital, calibrated image data capture and analysis.
Method in detail:
Macroscopy is limited to views that can be seen by the naked eye, e.g., layer structure of a weld seam.
SPECTRAL ANALYSIS
Technical details:
Standards: ASTM A751
Method: optical emission spectrometry (OES)
Elements: C, Si, Mn, P, Cr, Mo, Ni, Al, Co, Cu, Nb, Ti, V, Pb, Sn, B, N, Fe
Method in detail:
Optical emission spectrometry (OES) is used for the quantitative and qualitative analysis of test pieces.
The method is based on the fact that excited atoms emit electromagnetic radiation characteristic of the chemical element and thus provide information on the composition of the test piece. The atoms are excited using an arc.
METALLOGRAPHIC SAMPLE PREPARATION
Method in detail:
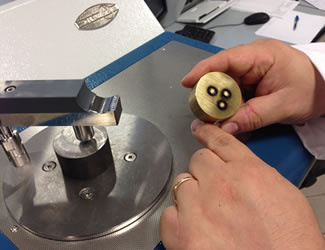
Reproducible grind and polish equipment
HARDNESS TEST
Technical details:
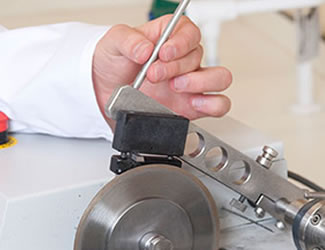
- Hardness according to Vickers EN ISO 6507
- Hardness according to Brinell EN ISO 6506
CORROSION TEST
Technical details:
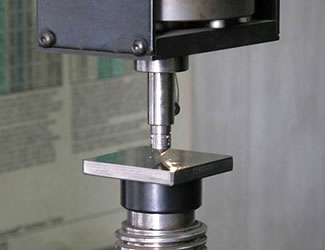
- Intergranular corrosion according to EN ISO 3651-2 method A-C and ASTM A262 Practice E
- Pitting corrosion according to ASTM G48 Method A, ASTM A923 Method C
OTHER ACTIVITIES
Technical details:
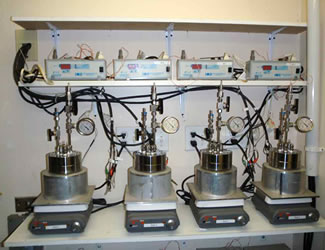
- Flattening test according to EN ISO 8492
- Drift expanding test according to EN ISO 8493
- Ring expanding test according to EN ISO 8495
- Ring tensile test according to EN ISO 8496
- Bend test according to EN ISO 5173
Method in detail:
Performance of welding procedure test according to EN ISO 15614
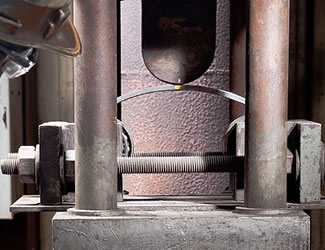
SAMPLE PREPARATION
Technical details:
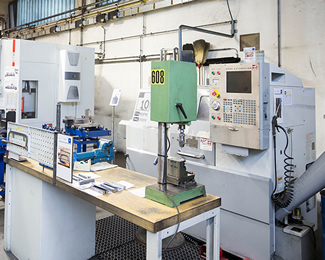
- The test pieces are processed using the latest CNC machines.
